

Written by Riccardo Lorenzi
Newired Journeys in a Nutshell
Newired Journeys is one of the products offered by Newired to help end users of software and applications better use and understand these digital resources. Journeys are, in a few words, guidelines which appear to end users in a sequence, normally consisting of several steps, which typically lead them to complete a task.
In this article, the eighth one in our series of articles for Journeys, we will explain how to make your guidance easy to follow and straight to the point.
Creating Quick Journeys
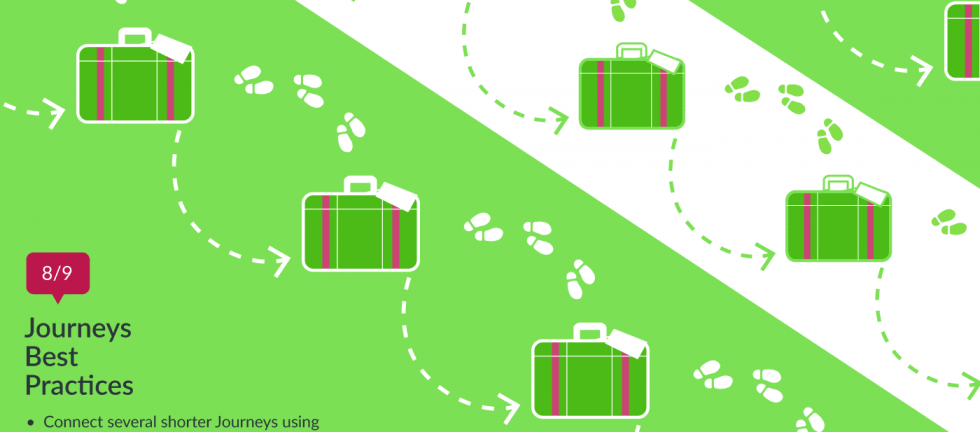
Quick Journeys are efficient and dynamic for end users and are very useful for the author too, as they are easy and quick to create.
Short and concise steps are also a very useful way to teach methods / methodology without requiring much effort from the author and the end-user.
Quick Journeys allow are easier for authors to maintain. This way, the author can understand end-users’ problems and adjust or update processes that caused trouble with ease. Similarly, shorter steps allow for a better maintenance, as they contain shorter sentences.
Long Journeys might not be very effective; a longer process means more things to follow and that might become a problem for our end-users. When you have that scenario, it’s better to split the process into shorter Journeys, which will keep the user engaged until the end and will give them a feeling of accomplishing several short tasks rather than going through something long and tiresome.
Short Journeys works extremely good mainly with:
- Journey links
Journeys links can give a preview of a Journey directly from another Journey Step, from a modal Step or a Tip.
This way, the departing Journey can, for instance, be a quick Journey and lead users to follow other processes if needed. This might be useful for steps that have some sort of requirement: if the end-user does not have that specific requirement, he can start a Journey that will explain and guide him to get it.
Creating a Journey link is very easy; the only thing the author has to do is to click on the Journey link icon.

Then the author has to select what Journey he wants to link to that Step or Tip. They will have a list of available Journeys, playable if the end user clicks on the link which will be generated.

With Step actions, the author has the chance of defining where a step should lead to, depending on what happens when that step is played. There are three types of actions:

- Stop Journey: stop Journey will finish the Journey instantly; this is very useful in case the end-user makes a mistake or when the end user has completed the task without having to use a Journey.
- Jump to step: If the end-user has failed a step or say, changes URL suddenly, jump to step will take the user back to a given step and through the process again, from where they made the mistake.

Jump to step is very useful even if the user fails a step; this way the author has the chance to redirect them to the step which was problematic and go through it again, until no mistake is made. Jump to step also allow to reproduce a step the end-user has precedently made.
- Play Journey: this action might be used to prevent the end-user from going off track.
With play Journey, the author can always assist the end-user: if the user changes url or page in the software application, he will be redirected to the correct Journey and the URL where it starts.
The author can also connect several short Journeys, using this action, giving more linearity to the content, by giving end users the possibility to continue with other complementary processes or finishing the guidance there.
Empower users now!
At Newired we deliver 100% no-code
tools which allow the delivery of quick usability fixes, speed up onboarding on any web application and put users first.