Written by Andrea Folino
Newired Journeys is one of the products offered by Newired to help end users of software and applications better use and understand these digital resources. Journeys are, in a few words, guidelines which appear to end users in a sequence, normally consisting of several steps, which typically lead them to complete a task.
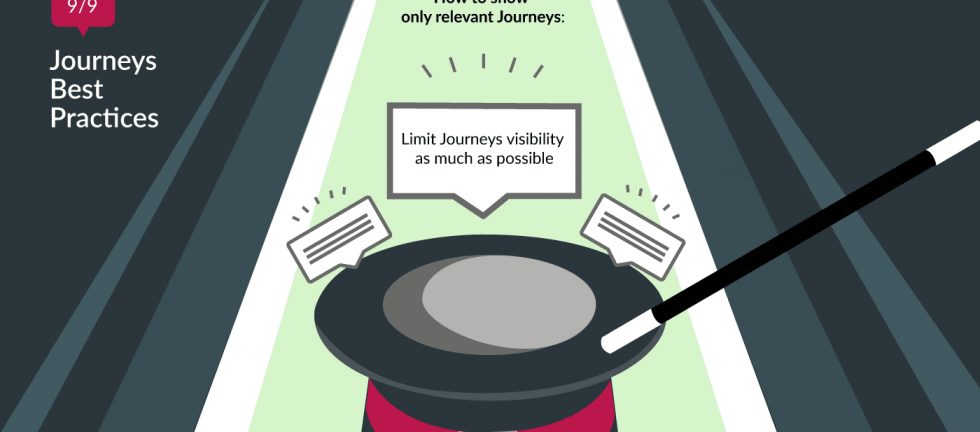
In this article, the ninth and last one in our series of Journey articles, we will explain how to segregate your Journeys and make them visible only to those who need them..
What’s the problem?
Having a list of all the available Journeys on a website can be confusing, especially if the site has a lot of pages and problems which need to be explained.
Visibility Rules
To make this easier for the user, Newired Journeys allows you to implement Visibility Rules.
By applying them, the Journey creator can show or hide Journeys according to the current URL or a page’s element characteristics. This way, the Journey list will be tailored to the end user, finding the Journey which concerns their job becomes much easier.
If the Visibility Rules sound familiar to you, it is because Journeys, Steps, modals and Tips have the same features!
URL-based rules
When talking about Visibility Rules, using the URL as a way to define the visibility rules can be a very powerful tool. With it, we can extract a lot of information, depending on the website structure. Let’s make an example.


In the image above, “I want to Log In” has a Rule showing it only when the page URL contains the word “login”, while all other Journeys are hidden when the word “login” is present.
This way, we’re shown just Journeys we actually need at the moment: the login Journey will only be shown on the login page, whereas no Journey which does not concern the login page will be shown
Now that the URL does not contain “login” anymore, all the other Journeys are shown, while “How to Log In” is hidden.
Element-based rule
The second method for segmenting visible Journeys from the ones to hide are page elements: we can tell Newired not to show a Journey when there is a specific image, or a text, or any element there could be on a web page.

In the example above, the Journey “I want to Log In” is shown just in case the text “you must specify a valid username and password” is present. This means that, if the user types in the wrong username or password, the Journey will appear to help him.
Browser language rule
Last but not least, Visibility rules allow you to show or hide Journeys depending on the end user’s browser language. This is another method to show Journeys to a specific set of people – by using it, we can determine, for instance, that someone who uses their browser in Spanish will only see Journeys in Spanish.

All these scenarios can be very useful in other situations as well. For example, by applying these criteria, we can determine that managers can see some Journeys which Sales cannot – it’s a matter of finding the most adequate parameter to differentiate their access and the best way to create the visibility rules according to your needs.
There are plenty of possibilities to do so!
Conclusions
As you can see, depending on your requirements and your web site structure, there are many ways to sectorialize your Journeys. This is a best practice we highly recommend you adopt.
Remember that it is important to keep the launcher clear and easy to read, so that when users open it, they’ll find the answers they need, not get more confused with hundreds of tutorials.
Empower users now!
At Newired we deliver 100% no-code
tools which allow the delivery of quick usability fixes. Speed up onboarding on any web application and put users first!